Studio Apartment Ideas Galley Kitchen for a Clear Walkway
A galley kitchen in a studio sits right in the middle of your living space, so every blocked door and every stray cart throws off the whole room.This studio apartment ideas galley kitchen system starts with one goal: keep the walkway clear while you still cook real meals. Below is a copyable system for layout, storage, light, and cleanup that fits a small footprint.
1. Plan the walkway first
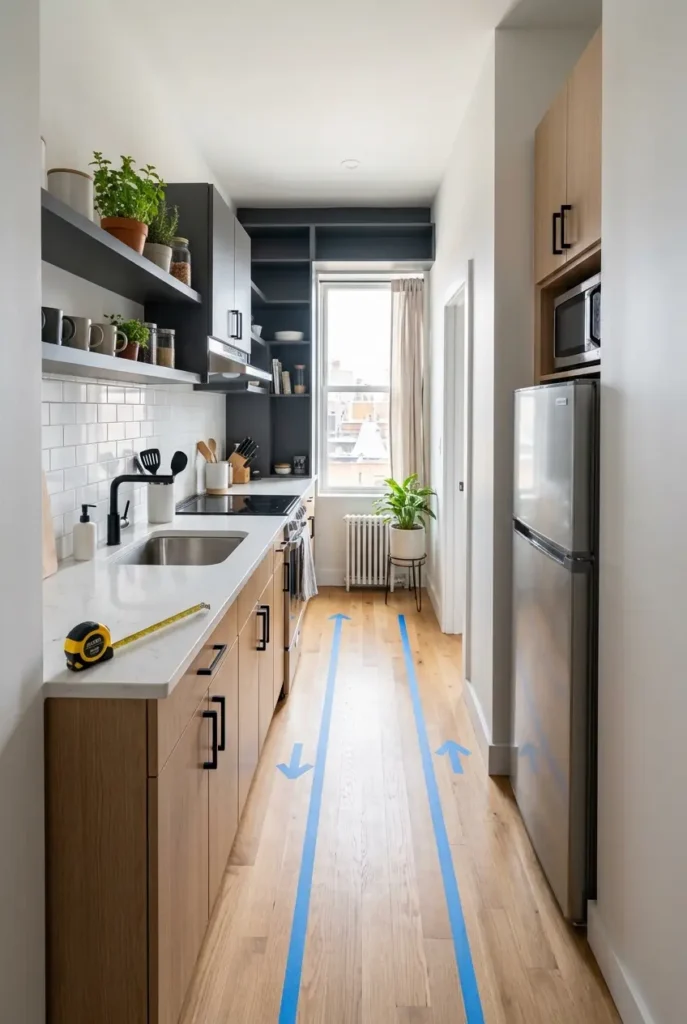
Start by measuring the aisle between your two counters, because that single number decides everything else. Stand in the middle of the galley and check where the cabinet doors, the fridge, and the oven actually swing open. Mark the real walking path with tape for a day and watch where you step. That measurement is the first step in any studio apartment ideas galley kitchen plan. Most bottlenecks hide behind an open cabinet door or a fridge that swings the wrong way.
A kitchen island needs about 10 to 12 feet of total width, and most studio galleys don’t have that, so skip the island idea entirely. For more floor plan options beyond the galley, our studio apartment layout ideas guide covers other setups that might suit your space better.
Size: 42 inches for a one cook work aisle, 48 inches for two cooks, per NKBA Kitchen Planning Guidelines. A plain walkway needs at least 36 inches only. Renter check: confirm no furniture juts into that span. Cost: $0 to measure, under $30 for tape and a measuring tape. Avoid: a cart or island parked in the walkway.
2. Choose the two sided layout that fits your studio
Pick between a closed two sided galley and an open ended galley based on how your entrance and living zone line up. A closed galley works when both counters face each other with a clear central aisle and nothing competes for that space. An open ended galley, where one end opens into the living area, suits studios where the kitchen needs to feel connected to the rest of the room.
Keep the entrance free no matter which layout you choose. This is a walkway and cooking system, not a dining table plan, so leave table placement for another guide.
Size: central aisle stays at the 42 to 48 inch work aisle minimum from section 1, with 36 inches as a plain walkway minimum only. Renter check: confirm the entrance door swing does not overlap the aisle. Cost: $0, this is a planning decision. Avoid: closing off the open end with a tall cart or shelf.
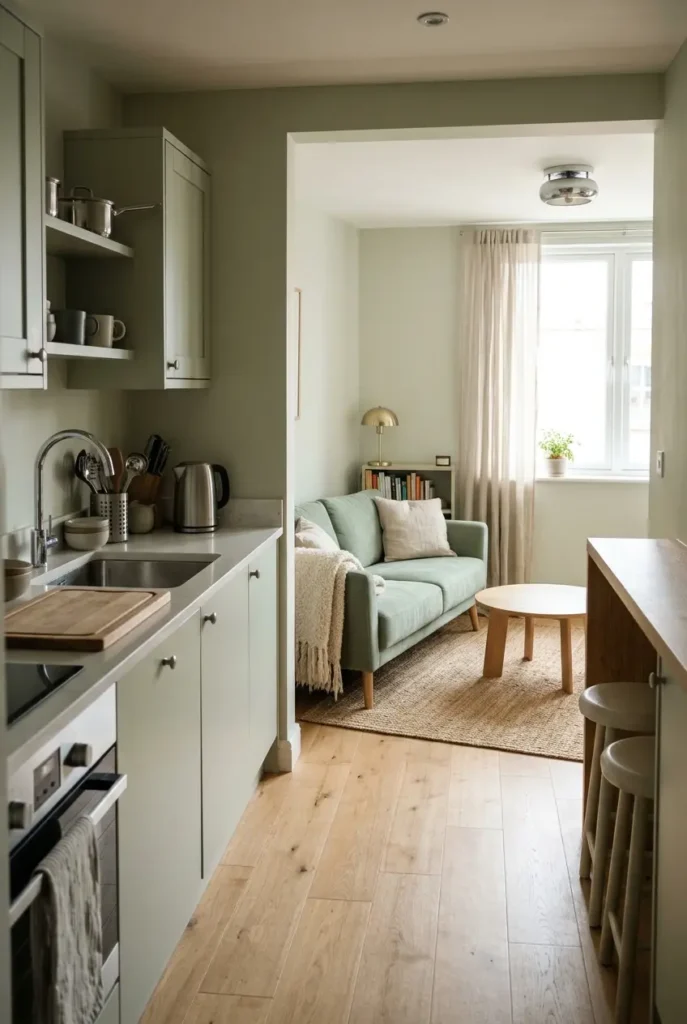
3. Add slim storage without narrowing the aisle
Go vertical with wall shelves and a slim pantry column instead of adding deeper counters on either side. Mount shelves above the work area for everyday items you reach for daily, and use a narrow vertical pantry for anything tall. In tight sections, shallow shelving keeps items in reach without eating into the aisle.
A slim rolling cart only works if it fits in actual clearance and gets parked outside the main aisle after use. For a deeper storage system, see our small apartment kitchen storage ideas guide.
Size: shelves no deeper than 10 to 12 inches so they clear the walkway. Renter check: confirm wall anchors are allowed in your lease. Cost: $40 to $150 for shelving and a pantry column. Avoid: deep cabinets added to both sides.
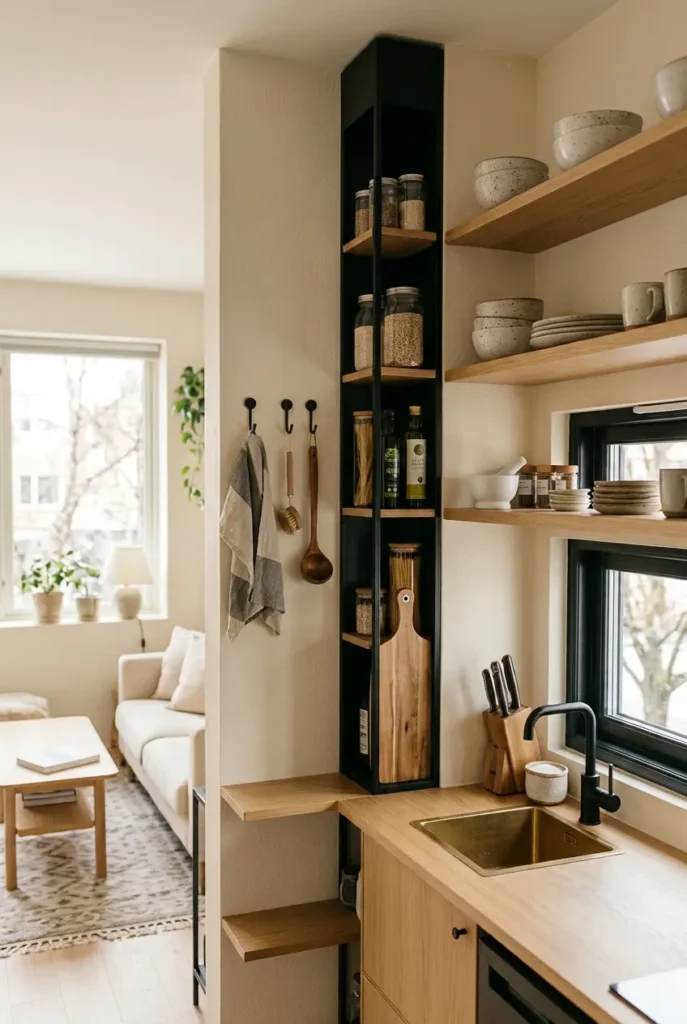
4. Make one prep zone work, with appliances that fit
Pick one counter section as your only prep zone and keep small appliances off it when they’re not in use. Store the toaster, blender, or kettle in a cabinet or on a shelf, and bring them out only when cooking. Under cabinet rails and wall organizers hold utensils without taking counter space.
Check your fridge against the space before buying anything new. An apartment size fridge, correct cabinet depth, and door swings that clear the aisle matter more than finding a bigger model. For renters, getting the fit right comes before buying new appliances.
Size: keep at least 24 inches of clear counter in the prep zone. Renter check: confirm fridge door swing doesn’t block the aisle at full open. Cost: $0 to $60 for rails and organizers. Avoid: a compact coffee station that eats into prep space.
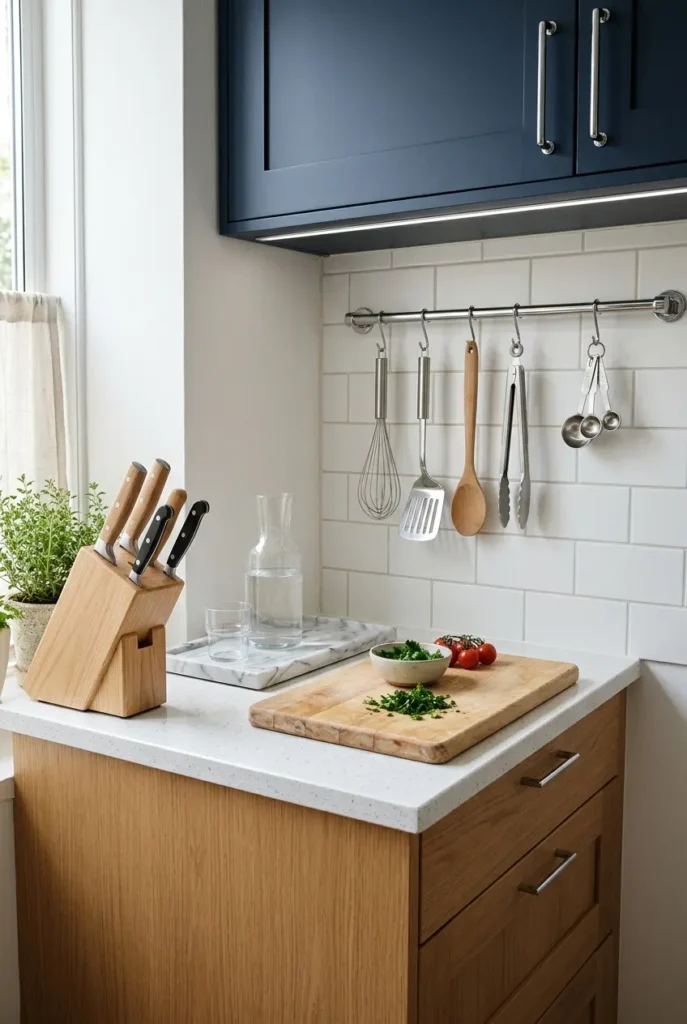
5. Make the galley brighter without losing the walkway
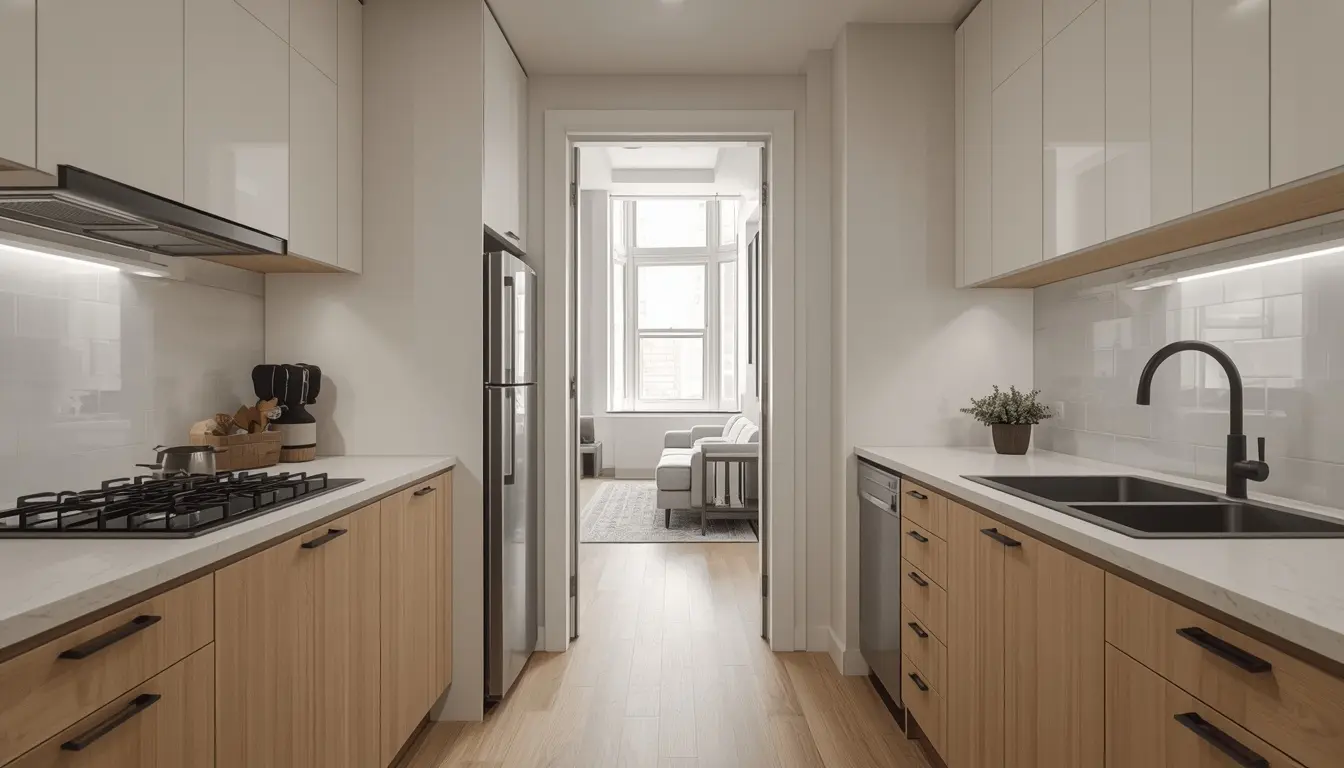
Keep the cabinet and wall colors consistent down both sides so the aisle reads as one continuous line, not two cramped walls. Add under cabinet task lighting plus one ambient fixture so you’re not relying on a single overhead bulb. A reflective backsplash or a few glass front cabinets used selectively can open up the space without adding clutter.
Keep window areas and sightlines clear down the length of the galley, and let flooring lines run the long way to visually stretch the room. Matte black fixtures, light oak shelving, and clean lined hardware keep the look modern without adding visual weight. For more finishing touches, our small apartment kitchen decor ideas guide has more.
Size: under cabinet lighting runs the full length of the counter. Renter check: confirm plug in lighting works instead of hardwired fixtures. Cost: $25 to $80 for lighting and glass inserts. Avoid: blocking the window or sightline with tall storage.
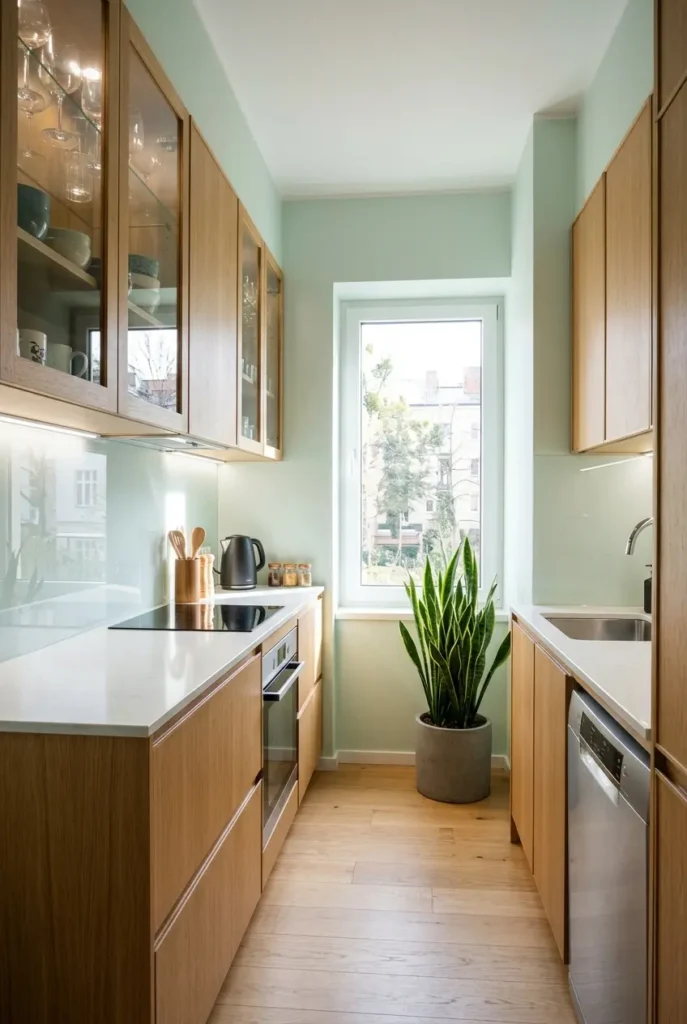
6. Stop cooking smells reaching the bed zone
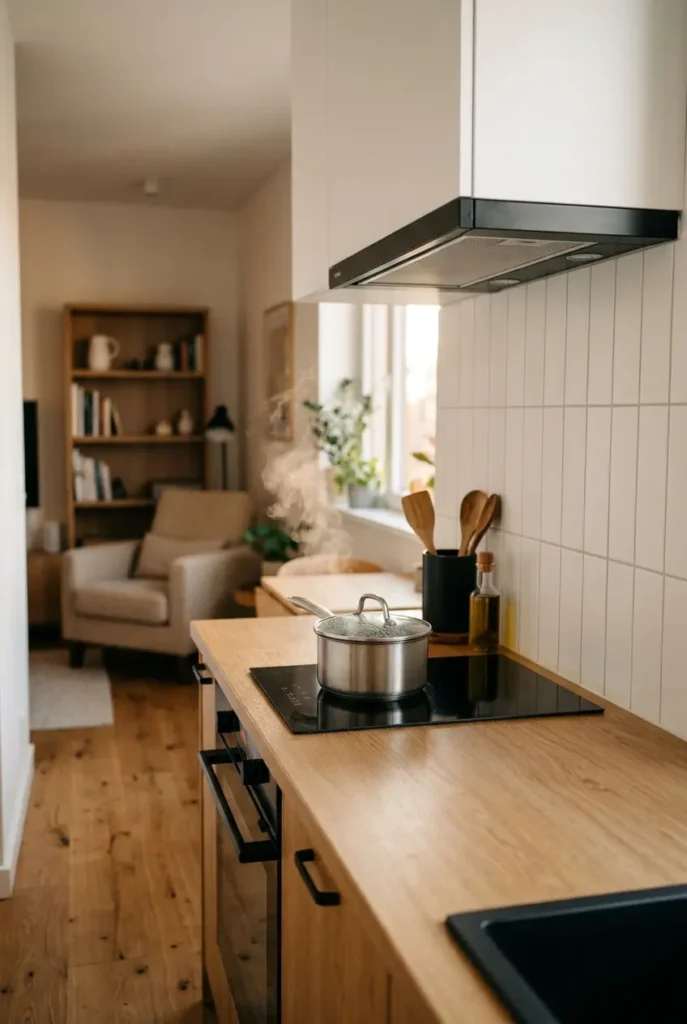
Turn on your vent before you start cooking, not after the smell has already spread. Cook with a lid on the pan where it fits, since that alone cuts most of the smell at the source. Use the open end of the galley as a buffer zone that stays clear, not as a wall to block airflow.
Check whether your hood actually vents outside or just recirculates, since a weak or recirculating hood needs extra help from a window or fan. Condition your routine to the fan you have rather than assuming it’s strong enough on its own.
Size: run the vent for at least 10 minutes after cooking finishes. Renter check: confirm the hood vents outside before relying on it. Cost: $0 to $25 for a portable fan as backup. Avoid: cooking without venting first, or blocking the vent with tall items.
7. Renter improvements and mistakes to avoid
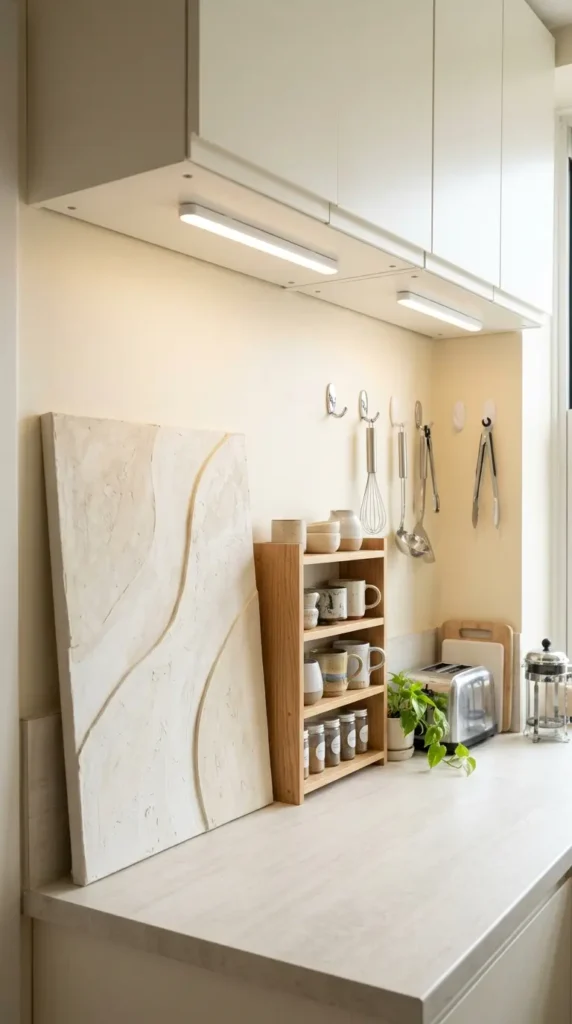
Use removable hooks and tension mounted organizers instead of anything that requires drilling into cabinets you don’t own. Freestanding shelves, battery powered under cabinet lights, and removable finishes where your lease allows them all add function without permanent changes. Always check adhesive strength and your lease terms before mounting anything to a wall or cabinet face.
The most common mistakes in a studio galley are a cart left in the walkway, cabinets that project too far into the aisle, blocked fridge or oven access, too many open shelves crowding the counter, and decorating in a way that slows down movement through the space.
Size: removable hooks hold up to about 5 to 10 pounds depending on the brand. Renter check: confirm adhesive is rated for your wall or cabinet surface. Cost: $15 to $60 for hooks, battery lights, and organizers. Avoid: mounting anything that could damage cabinet finish on move out.
8. Close the kitchen down in five minutes
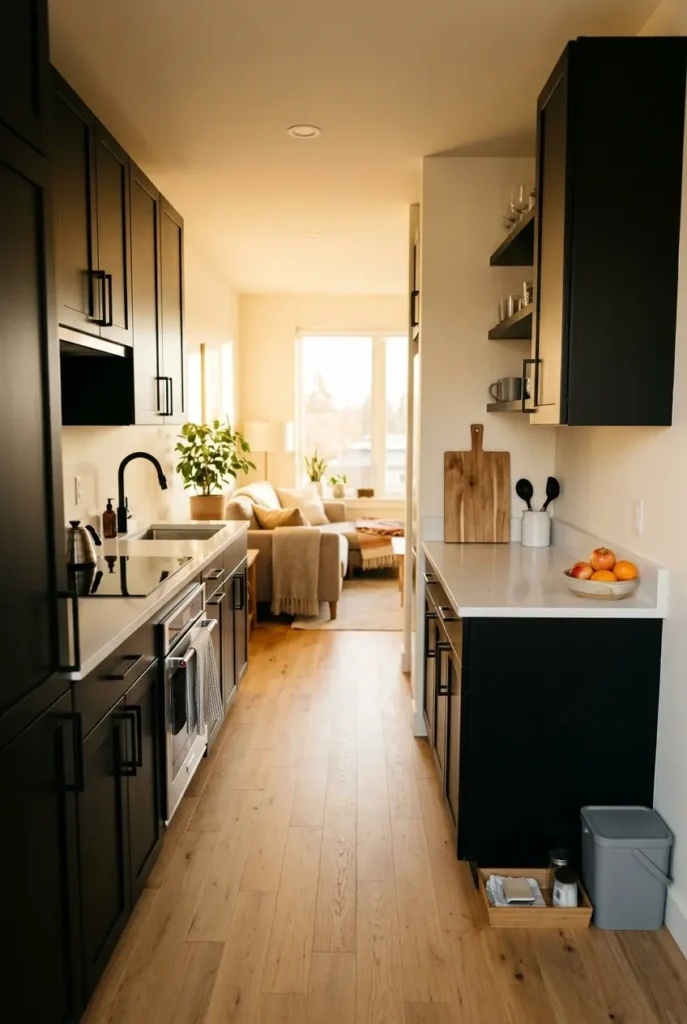
Run one short reset after every meal so the walkway stays clear instead of slowly filling up with clutter. Keep one bin for trash, one tray for anything that needs to go back to its shelf, and one wipe for the counter. Clear the aisle last, since that’s the step people skip when they’re tired.
If you only have energy for one step, wipe the counter and clear the floor path, since those two things keep the walkway usable even if dishes wait until morning.
Size: the full reset takes under 5 minutes once the habit sticks. Renter check: none, this is a routine, not a renovation. Cost: mostly $0, plus one tray and one bin if you don’t already have them. Avoid: leaving the reset for later, when the mess spreads toward the bed zone.
Copyable checklist
- Measure the aisle width between counters
- Check every cabinet, fridge, and oven door swing
- Mark the main walking route with tape
- Find your real prep area and protect it
- Remove anything projecting into the path
- Check appliance and storage access before buying more
- Test a new organizer in place before committing to it
Frequently Asked Questions
Conclusion
A studio galley kitchen comes down to four things: protect the walkway first, go vertical for storage, choose appliances that actually fit the space, and add light only where it does not block movement. Get those four right and the rest of the kitchen falls into place.
Browse all our Layout and Space Planning.